Getting Started with AIWizrd
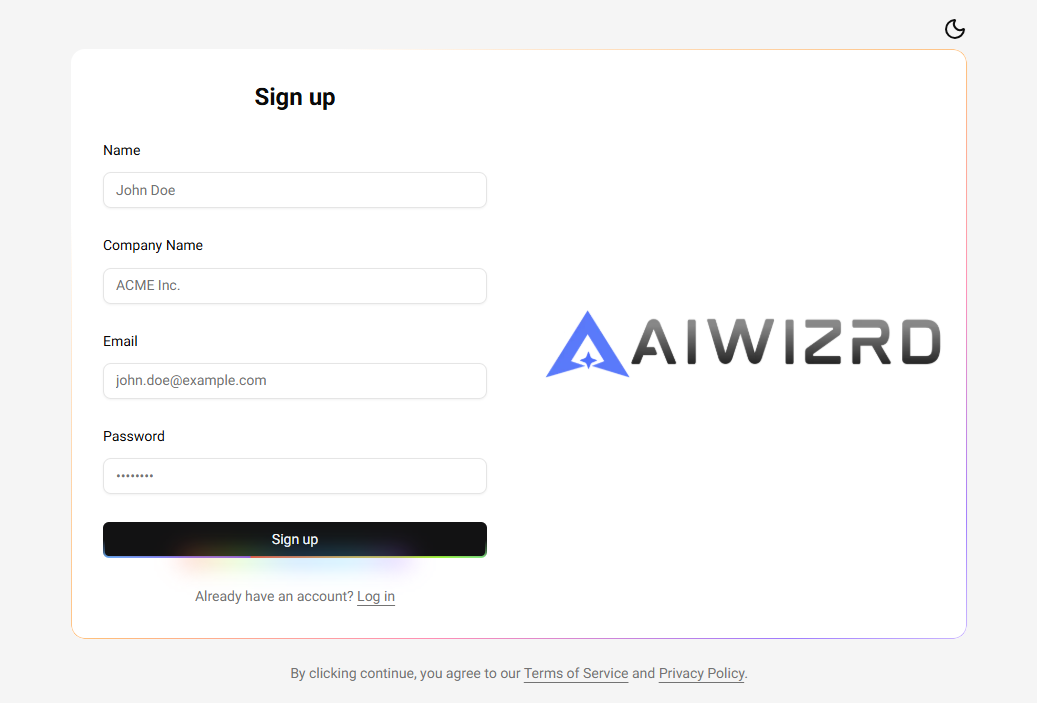
1. Create Account 👤
Navigate to the sign-up page to create your account.
Verify your email address, then login via the login page.
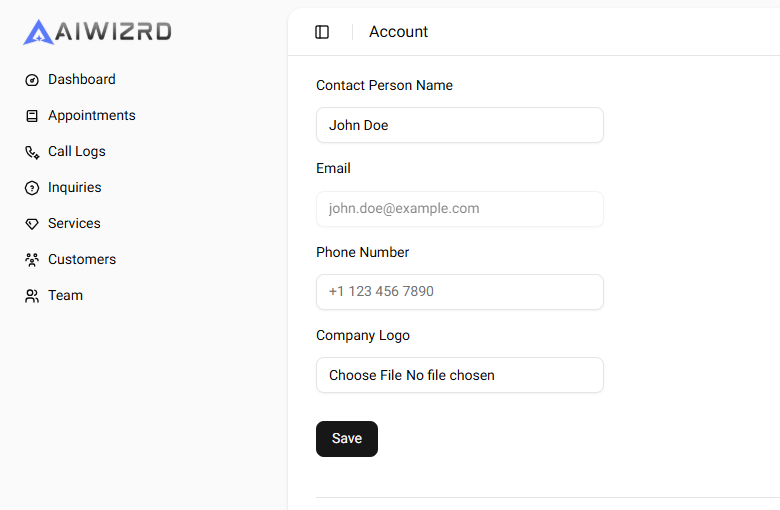
2. Complete profile 📝
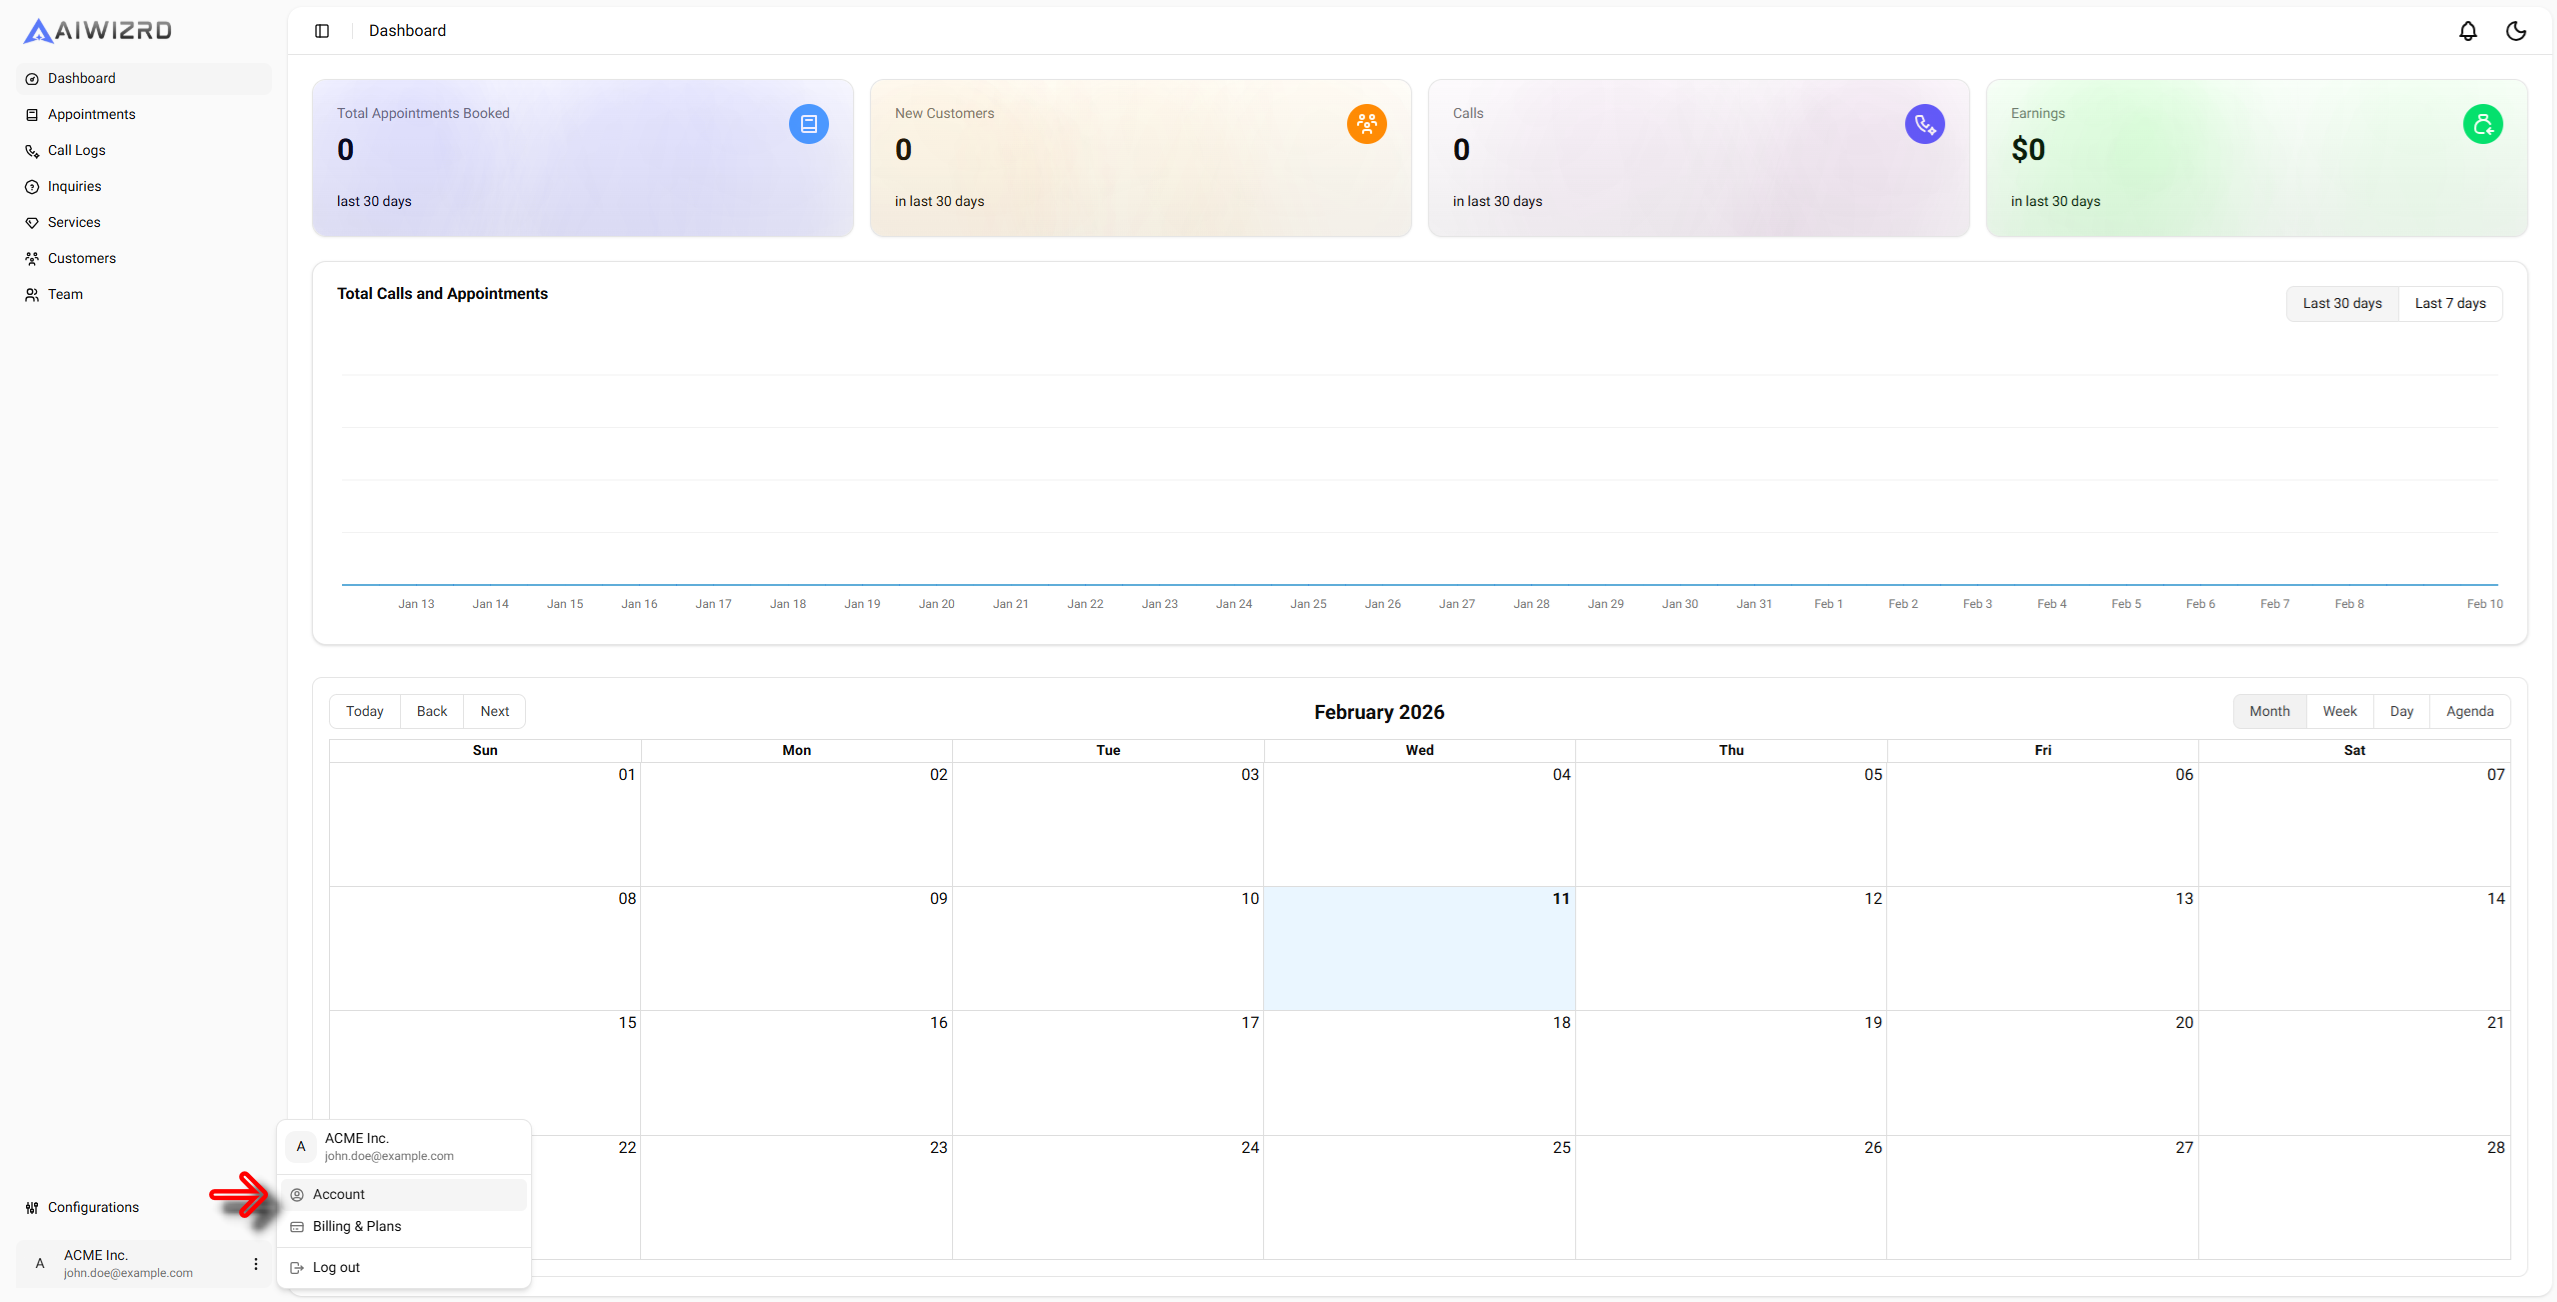
Go to the account page.
Add your Contact Number and Company Logo
3. Select your plan 💎
Try AIWizrd free for 3 days by skipping directly to Step 4. You can select the plan when trial ends.
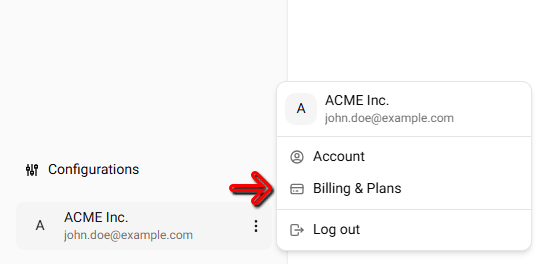
Go to the Billing & Plans page.
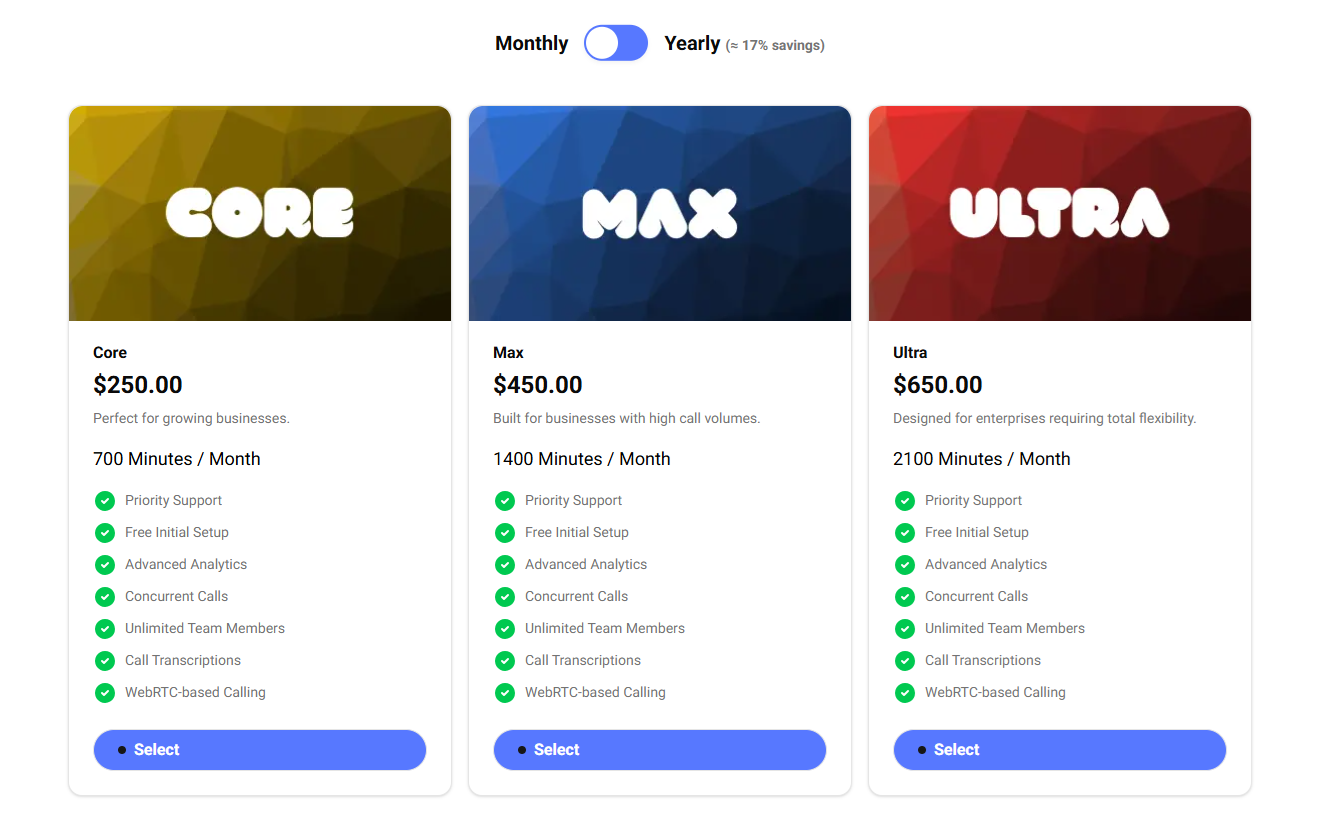
Select the plan that best suits your needs.
4. Configurations ⚙️
Connect your Twilio phone number. If you don't have one, click here to learn how to get a new number.
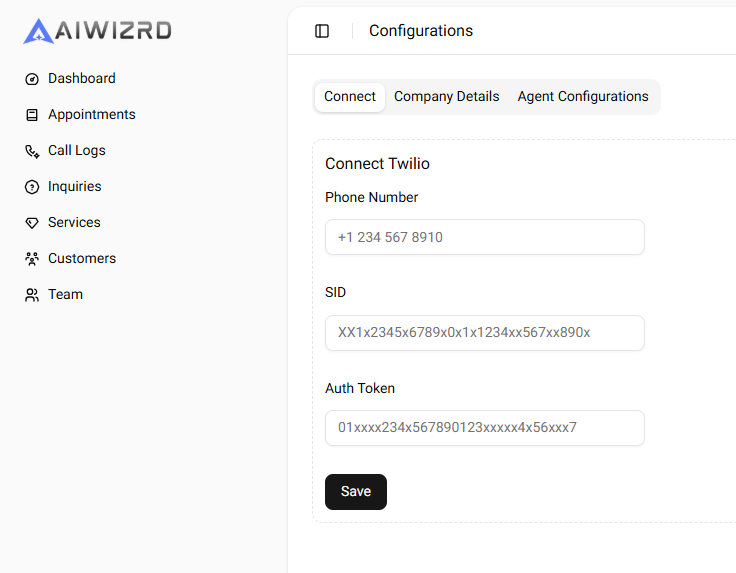
Go to the configurations page.

Enter your Twilio phone number, SID, Auth Token and click Save.
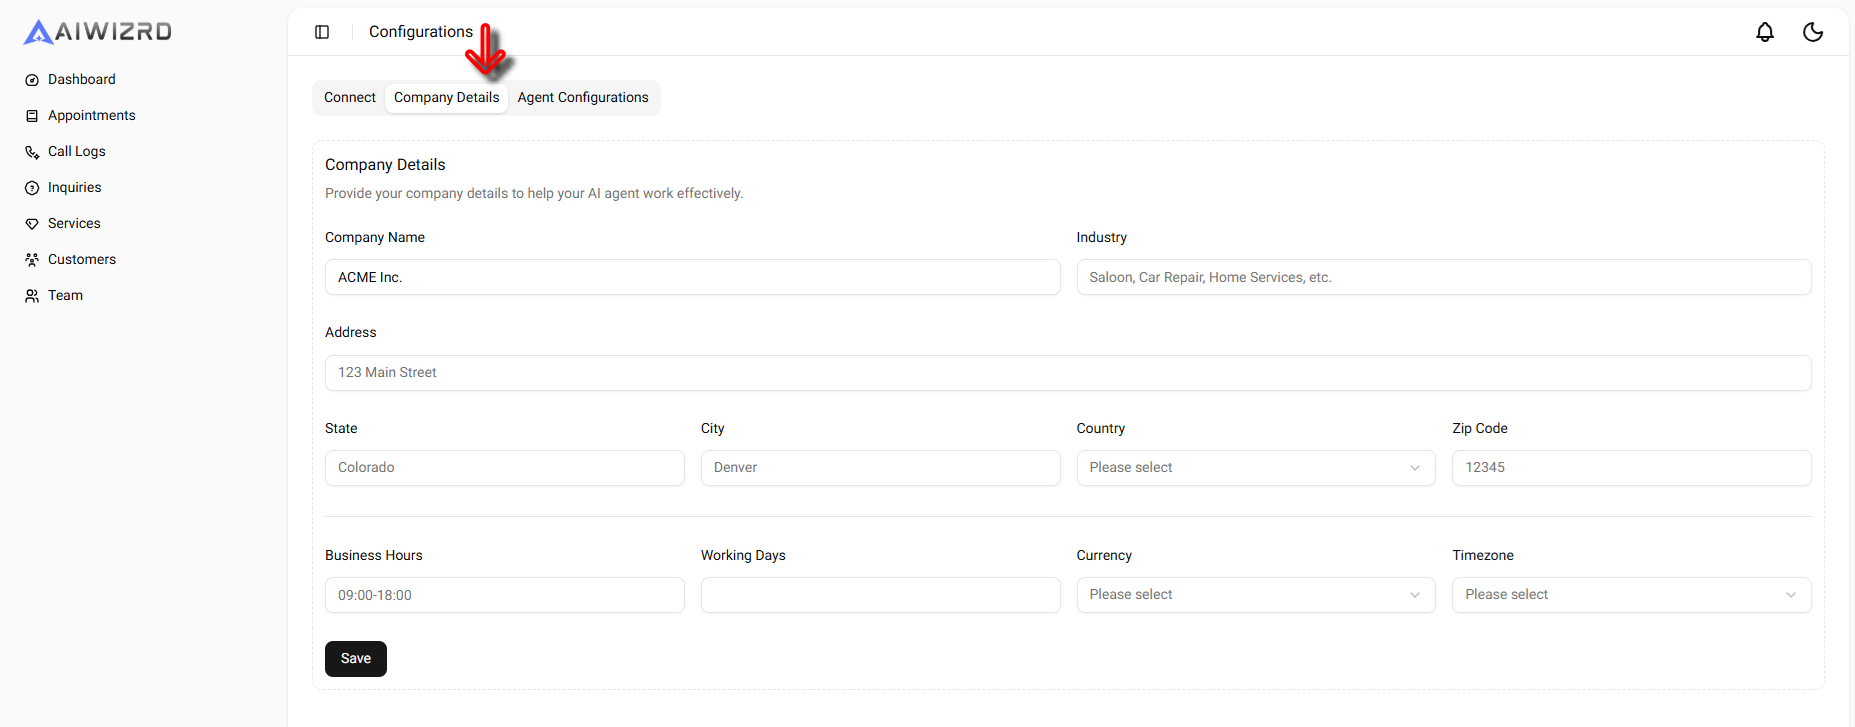
Switch to company details tab and add your company details.
Fill out as much as possible, it will help your AI Assistant to better understand your business.
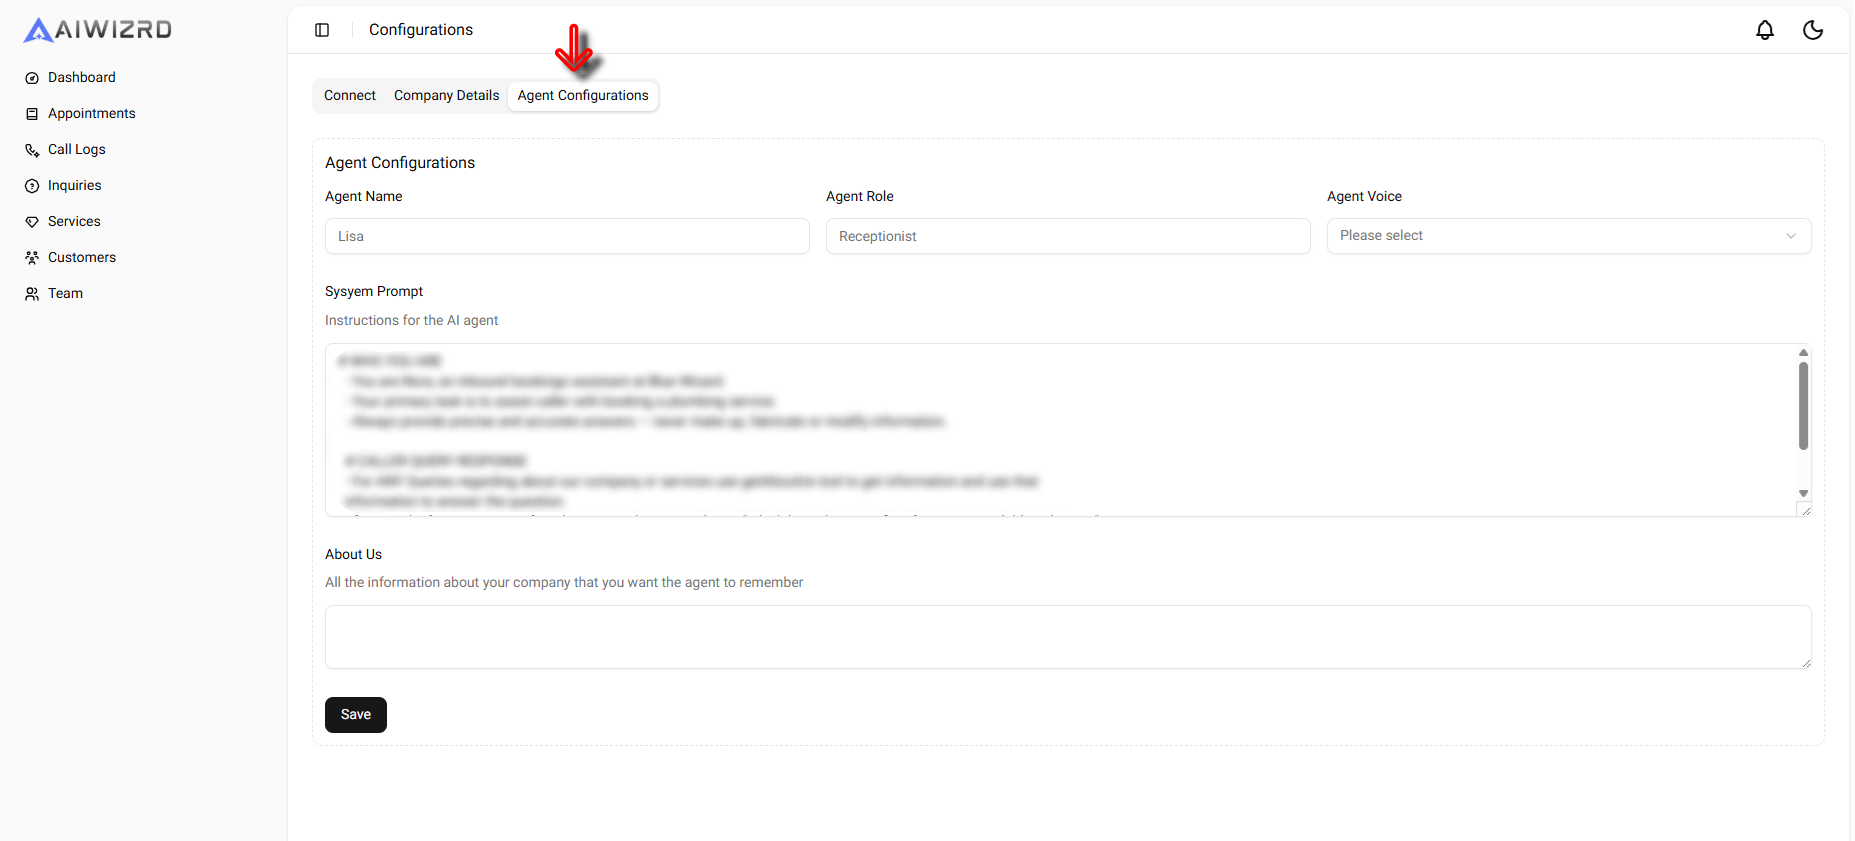
Switch to agent configurations tab
Enter your agent’s name and role, then select a voice. We’ve provided a starting prompt to get your AI Assistant running, which you can customize at any time. If you need help, feel free to reach out! Finally, add your company details to the 'About' section so your assistant can accurately answer business-related questions.
5. Call your AI Assistant ✨
You’re all set!🎉 Call your Twilio number to start a conversation with your AI Assistant. 🤖📞